Setting up a React app

React (also called ReactJS or React.js) is a popular JavaScript library for building highly interactive user interfaces. It can be easily installed via SSH with a single command after you have logged into your web application project with our Sureapp - app management CLI tool:
npm install react
Important: If you do not have a WebApps section in the Control Panel of your account, then this tutorial is not suitable for your particular hosting environment. You can get in touch with us if you need further assistance.
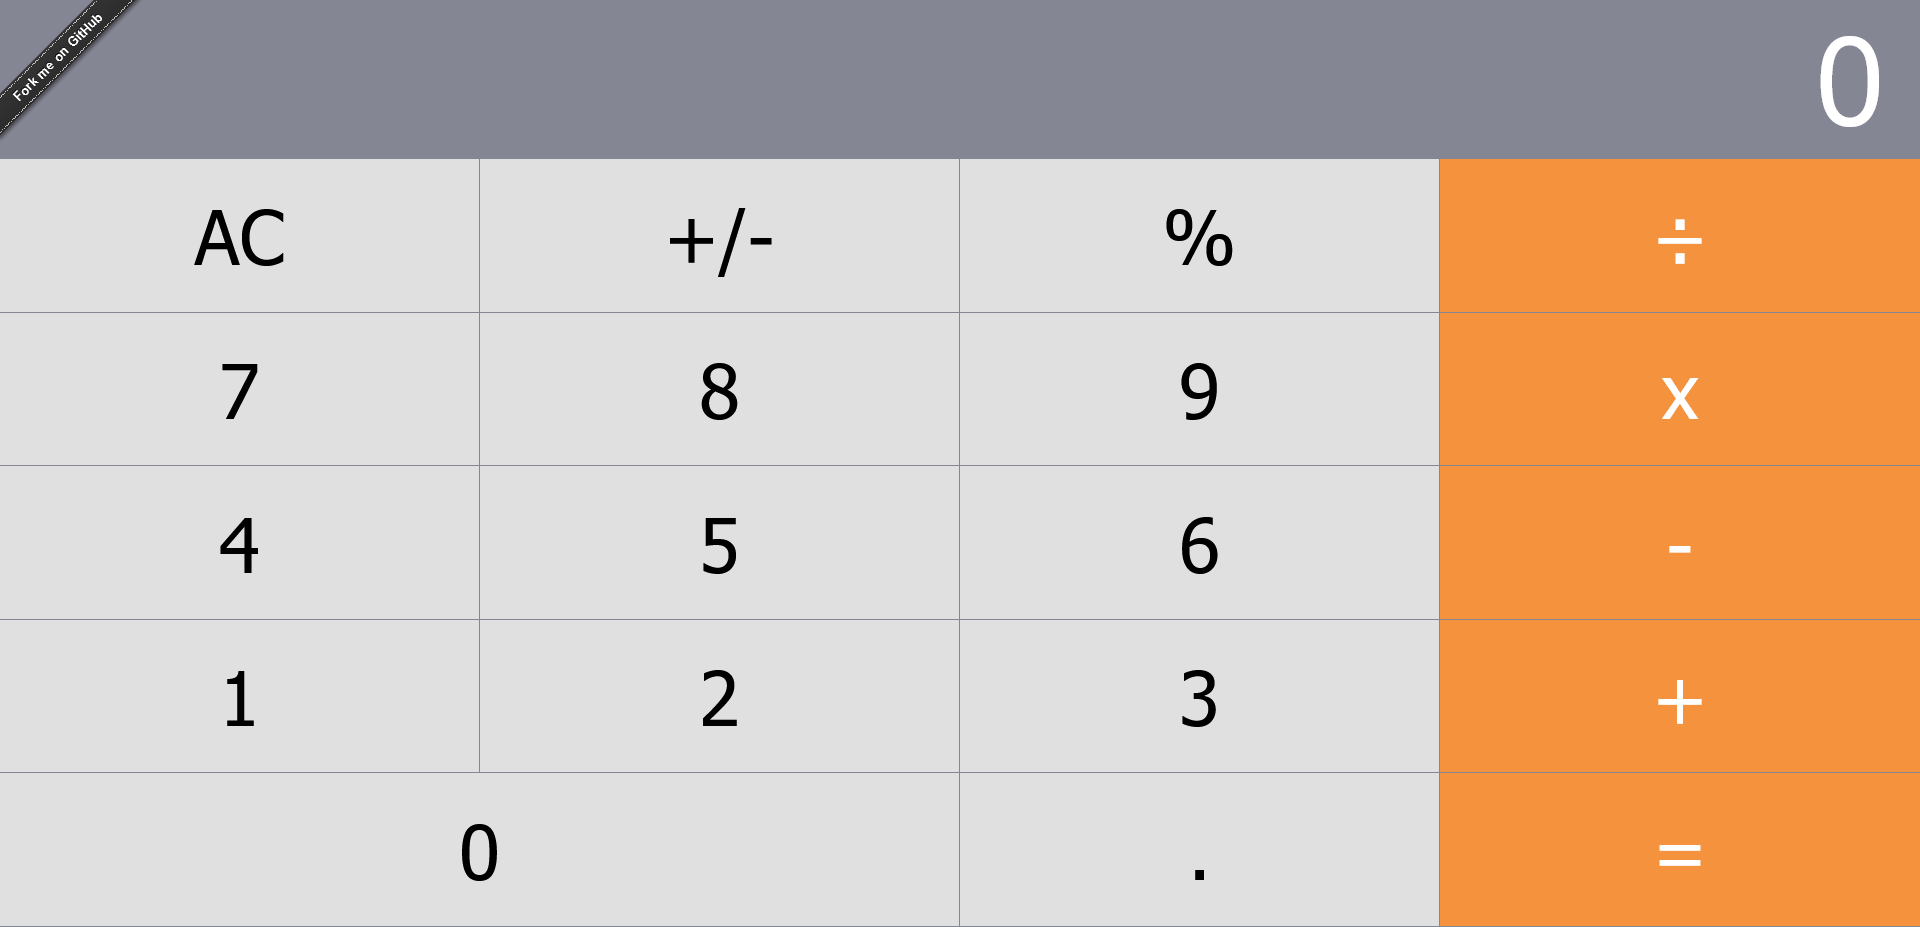
This tutorial will show you how to set up and run an example React application (Calculator) using npm and serve. You can use the same steps when following the most current tutorial for React - Tic-Tac-Toe.
Connect to your account via SSH and follow these steps:
- Create a directory for the React application (e.g. ~/private/react-calculator) and navigate to this directory. You can do this with the following command:
mkdir /home/$USER/private/react-calculator && cd /home/$USER/private/react-calculator - Download the example React application from GitHub in the created directory:
git clone https://github.com/andrewagain/calculator.git "/home/$USER/private/react-calculator" - Create a web application for the React calculator named react-calculator with the following command of the sureapp CLI tool:
sureapp project create \
--engine node \
--engine-version lts \
--release-dir "/home/$USER/private/react-calculator" \
react-calculator - Access the Redis web application with this sureapp CLI command:
sureapp project shell react-calculator - Use the following command to install all dependencies for the project:
npm install
Note: The process may take some time. - Since the Calculator example relies on an old protocol, use the following commands that enable support for it:
sed -i 's~^ "build": "react-scripts build",~ "build": "react-scripts --openssl-legacy-provider build",~g' package.jsonsed -i 's~^ "start": "react-scripts start",~ "start": "react-scripts --openssl-legacy-provider start",~g' package.json - Run the following command to start a test server for the React calculator:
npm start - Choose a page for the React calculator in the WebApps section of the hosting Control Panel. You can do this by clicking on the Edit button next to the react-calculator application and select the domain and subdomain via the available drop-down menus in the displayed form. Finally, save the changes.
- Open the address of the web application selected in the previous step from the tutorial (e.g. http://calculator.example.com) which is easily accomplished by clicking on the link from the URL column of your React project. You should get redirected to a page with the React calculator.

- After you have verified that the calculator is working, go back to the console of your web application and stop the test server. You can do this by cancelling the SSH command of the test server by pressing the Ctrl+C keys on your keyboard simultaneously.
- To start a production server for the web application, you first need to update the homepage of the calculator in the package.json file of the web application from "http://ahfarmer.github.io/calculator" to the address you selected for the web application. If, for example, your web application uses "http://calculator.example.com" as address, you should enter that address.
The below command sets the homepage variable as "/" (slash), so the application will always work without the web application's address having any effect:
sed -i 's~^ "homepage": "http://ahfarmer.github.io/calculator",~ "homepage": "/",~g' package.json - Create a static copy of the website with the following command:
npm run build - Install the serve Node.js package and start a production server with these commands:
npm install -g serveserve -s build - Open the web application address (e.g. http://calculator.example.com) which you can achieve again by using the link for your web application from the URL column of the hosting Control Panel > WebApps section. If the calculator works correctly, you can stop the production server by pressing the Ctrl+C keys on your keyboard simultaneously within the SSH console.
- Configure the serve -s build command as a start command for your React web application and enable the application. You can do this via the hosting Control Panel > WebApps section or by using the following commands of the sureapp CLI tool:
sureapp project modify --start-cmd "serve -s build"sureapp service manage --enable