Uploading with Adobe GoLive 6.0
1. Start up your GoLive! program.
2. From the menu choose File -> New Site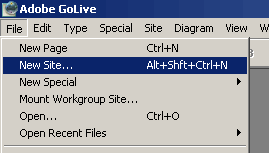
The GoLive Site Wizard will start up.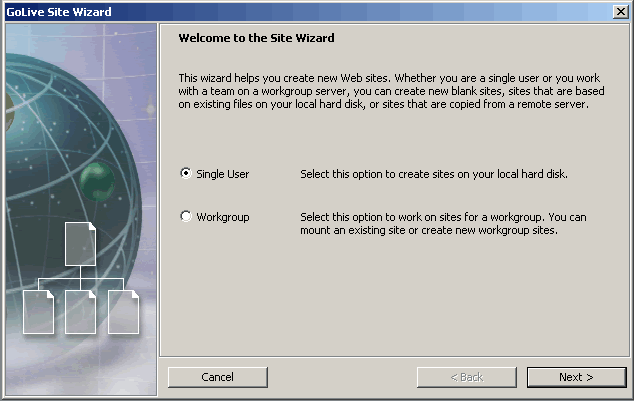
3. Choose the Single user option and proceed to the next step by clicking the Next button.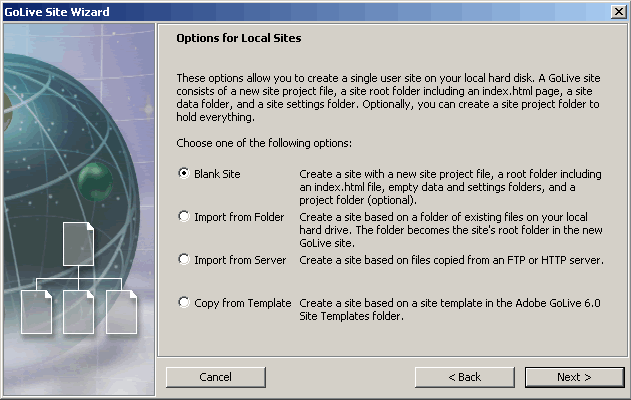
4. Pick up the option that you need. The Blank site option is assuming that you will start building your site from scratch.
Proceed to the next step by clicking the Next button.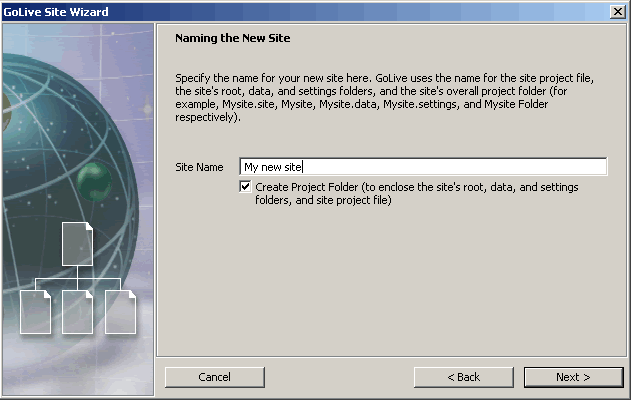
5. Specify a name for you site. Proceed to the next step by clicking the Next button.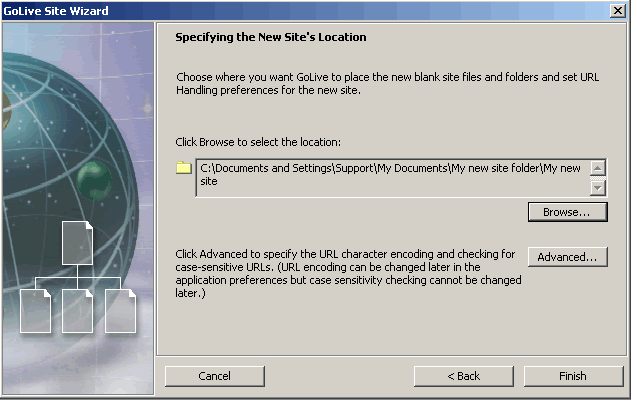
6. On the next screen, specify the location on your hard drive where you will have your site files stored.
Then click the Advanced button and make sure that the Check URLs case-sensitive option is checked
Confirm the setting by clicking on the OK button. Then click finish on the Golive Site Wizard screen.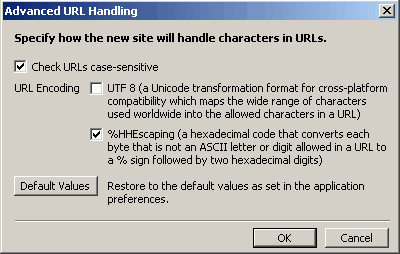
7. Once you are ready with your site setup, choose Site -> Settings from the menu.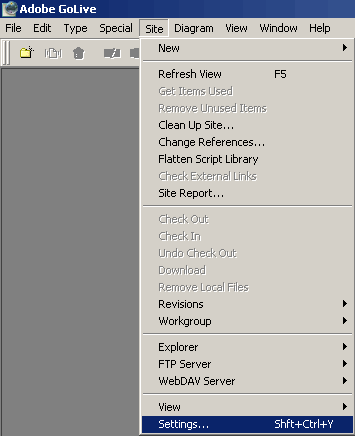
8. On the screen select the FTP & Webdav Server section
Then choose the Edit FTP server option from the dropdown menu on the right pane.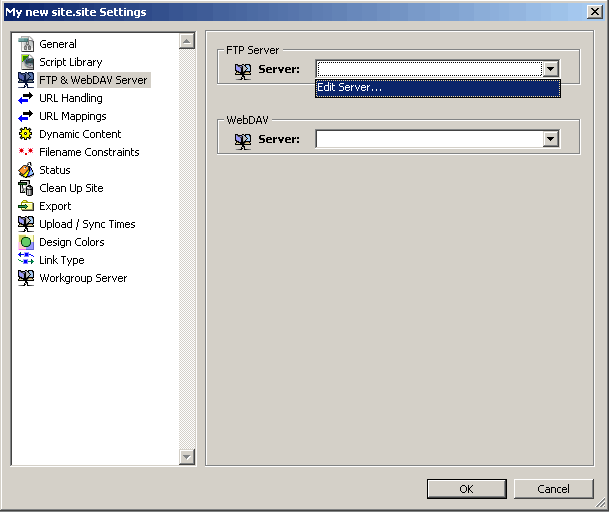
9. The Available servers window will open up.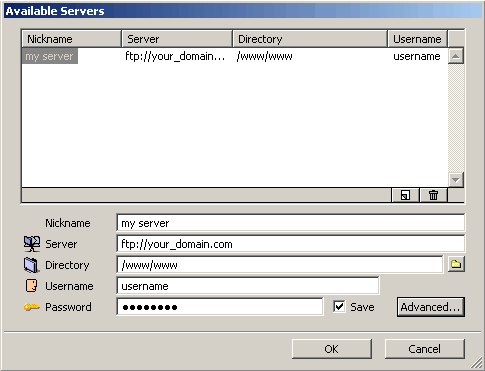
You will need to enter information for the following fields:
Nickname: This is the name that will be associated with this ftp process. It can be anything that you want. A good default is the name of your web site. For example www.your_domain.com or My hosting service.
Server: You need to specify ftp://your_domain.com, where your_domain.com is your actual domain name. You can also use the hostname of the server on which your account is hosted. This information can be found in the Welcome e-mail message of your hosting account.
Directory: For publishing to your main site, you should use /www/www. To publish to a subdomain, you should use /www/[subdomain_name] where you should replace [subdomain_name] with the name of your subdomain.
In the "Username" and "Password" fields, you need to specify the FTP login details you want to connect with. Normally, you would want to connect with your main Control Panel username/password pair.
Check the Save checkbox next to the password.
Then open up the Advanced properties for the connection by clicking on the Advanced button.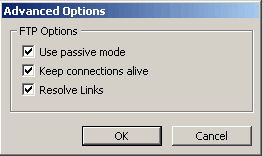
Make sure that the Use passive mode checkbox is checked.
10. Now you are ready to publish to the server.
From the menu choose Site -> FTP server -> Connect.
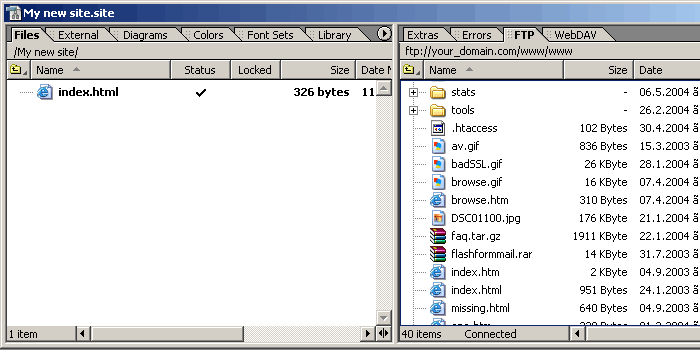
Once connected to the server, you will see the files on the server on the right pane of your site explorer.
Your local files are located in the left pane. You can drag-n-drop files to the server or download them
to your computer. You can also rename/delete files and create new folders if needed.
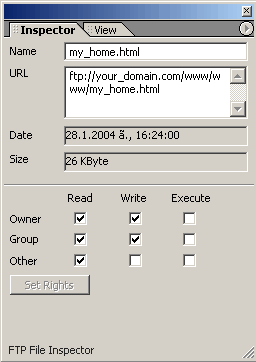
You can also change file permissions; just use the Inspector window in your GoLive program.